
Introduction
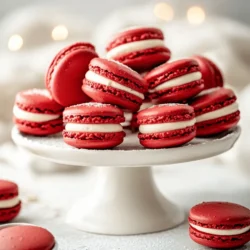
Macarons have taken the dessert world by storm, captivating the hearts (and taste buds) of sweet enthusiasts everywhere. These delicate French treats are beloved for their crisp exterior, chewy interior, and incredible versatility in flavor and color. Among the endless array of flavors, red velvet macarons stand out, offering a unique twist on a classic dessert. The rich, velvety flavor profile of red velvet combined with a luscious cream cheese frosting creates a dessert that’s not only visually stunning but also irresistibly delicious.
This article aims to provide a comprehensive guide to making red velvet macarons with cream cheese frosting from scratch. Whether you are an experienced baker or a novice in the kitchen, this recipe will walk you through each step, ensuring your macarons turn out perfectly every time. So, let’s dive into the world of macarons and discover the magic behind these elegant treats!
Understanding Macarons
At their core, macarons are meringue-based confections made primarily from almond flour, egg whites, and sugar. Originating from Italy, macarons were popularized in France in the 16th century and have since become a staple in patisseries worldwide. The texture of macarons is what makes them truly special. A well-made macaron features a crisp outer shell that gives way to a soft, chewy interior. This contrast creates a delightful eating experience, especially when paired with a rich filling.
Common Ingredients and Techniques
The ingredients for macarons are simple, yet they require precision and technique to achieve the perfect texture. The key components include:
1. Almond Flour: This finely ground flour is essential for creating the distinct texture of macarons. Its natural oils contribute to the chewiness while allowing for a delicate shell.
2. Powdered Sugar: Also known as icing sugar, it is used to sweeten the macarons and aids in stabilizing the mixture. The fine texture of powdered sugar helps create a smooth batter.
3. Egg Whites: Fresh egg whites are whipped until they form stiff peaks, which is critical for achieving the airy structure of macarons. The temperature of the egg whites can significantly impact the whipping process; room temperature whites whip better than cold ones.
4. Cocoa Powder: In the case of red velvet macarons, cocoa powder adds a subtle chocolate flavor and contributes to the overall color.
5. Red Food Coloring: This is what gives red velvet its signature hue. Properly incorporating food coloring is vital to achieve the desired vibrant red without altering the texture.
Achieving the perfect macaron involves more than just combining these ingredients. The technique of folding the meringue into the dry ingredients is crucial. It’s important to mix just enough to achieve a smooth, pipeable batter while ensuring that the mixture retains enough air to create the characteristic rise during baking.
Texture and Flavor Balance
Texture is of utmost importance in macaron-making. A well-made macaron should have a smooth, shiny surface, and when bitten into, it should reveal a chewy center that melts in your mouth. The flavor balance is equally critical; the filling should complement the shell without overpowering it. For red velvet macarons, the slightly chocolatey flavor of the shell pairs beautifully with the tangy cream cheese frosting, creating a harmonious blend that tantalizes the palate.
The Allure of Red Velvet
Red velvet cake has a rich history that dates back to the 19th century, known for its luxurious appearance and unique flavor profile. Originally, the cake was made with cocoa powder, which, when combined with acidic ingredients like buttermilk and vinegar, created a reddish hue. This combination of flavors and textures quickly garnered popularity, especially in the Southern United States, where red velvet cake became a staple at celebrations and special occasions.
The flavor profile of red velvet is distinct, offering a mild chocolate taste with hints of vanilla and a slight tang from the cream cheese frosting typically paired with it. This delightful blend of flavors translates beautifully into macarons, where the chewy texture of the shell and the creamy filling create an indulgent dessert that is both sophisticated and comforting.
Ingredients Breakdown
To create the perfect red velvet macarons, it is essential to understand each ingredient’s role. Here’s a detailed analysis of what you’ll need:
Ingredients for Macaron Shells
1. Almond Flour (1 cup): The foundation of the macaron shell, almond flour provides the necessary structure and chewiness. Make sure to use finely ground almond flour for the best results.
2. Powdered Sugar (1 ¾ cups): This adds sweetness and helps to stabilize the batter. Sifting the powdered sugar with the almond flour ensures a smooth consistency.
3. Egg Whites (3 large): At room temperature, these will be whipped to form the meringue base. Make sure there is no trace of yolk in the whites, as fat will prevent them from whipping properly.
4. Cocoa Powder (2 tablespoons): This adds a subtle chocolate flavor to the macarons, enhancing the red velvet experience.
5. Red Food Coloring (1 tablespoon): Use a gel-based food coloring for the best color payoff without altering the batter’s consistency. Adjust the amount to achieve your desired shade of red.
Ingredients for Cream Cheese Frosting
1. Cream Cheese (8 ounces): At room temperature, this is the star ingredient of the frosting, providing that classic tangy flavor that pairs perfectly with red velvet.
2. Butter (½ cup): Also at room temperature, butter adds richness and helps create a smooth texture in the frosting.
3. Powdered Sugar (2 cups): This sweetens the frosting and helps achieve the desired consistency. Sift it before adding to avoid lumps.
4. Milk (1-2 tablespoons): This is used to adjust the thickness of the frosting. Add it gradually until you reach your preferred consistency for spreading or piping.
Step-by-Step Instructions for Macaron Shells
Now that you have a grasp of the ingredients and their roles, let’s move on to the preparation of the macaron shells. Follow these steps to set the stage for your delicious red velvet macarons:
Preparation of Baking Sheets
1. Gather Your Tools: Start by gathering all necessary tools: a stand mixer (or hand mixer), mixing bowls, a spatula, a sifter, piping bags, and a silicone baking mat or parchment paper.
2. Preheat the Oven: Preheat your oven to 300°F (150°C). This temperature is crucial for ensuring that your macarons bake evenly without browning too quickly.
3. Prepare Baking Sheets: Line your baking sheets with a silicone mat or parchment paper. If you’re using parchment paper, you can trace circles on it to ensure uniform sizes for your macarons. This will help maintain consistency in baking and presentation.
4. Sift Dry Ingredients: In a mixing bowl, sift together the almond flour, powdered sugar, and cocoa powder. This step is essential for breaking up any lumps and ensuring a smooth batter.
5. Whip the Egg Whites: In a clean mixing bowl, begin whipping the egg whites on medium speed until they become frothy. Once frothy, gradually add in granulated sugar (not listed in the ingredients above but typically used for meringue). Increase the speed to high and whip until stiff peaks form, which should take about 5-7 minutes. The egg whites should be glossy and hold their shape when you lift the whisk.
6. Add Food Coloring: Once the egg whites are whipped to stiff peaks, add the red food coloring. Start with a small amount and increase until you reach your desired shade of red. Gently fold the color into the meringue with a spatula until fully incorporated.
7. Combine Mixtures: Gently fold the sifted dry ingredients into the meringue in three additions. Use a spatula to carefully combine the mixtures, being cautious not to deflate the meringue too much. The goal is to achieve a smooth, glossy batter that flows slowly off the spatula.
8. Pipe the Macarons: Transfer the batter to a piping bag fitted with a round tip (approximately ½ inch in diameter). Pipe small circles onto the prepared baking sheets, leaving space between each macaron to allow for spreading.
9. Rest the Shells: Allow the piped macarons to rest at room temperature for 30-60 minutes, or until a skin forms on the surface. This step is crucial for developing the signature “feet” that macarons are known for.
By carefully following these steps, you’ll set yourself up for success in creating the perfect red velvet macaron shells. In the next section, we will continue with the baking process and explore how to make the delectable cream cheese frosting that will elevate these macarons to new heights. Stay tuned for more details on achieving macaron perfection!
Creating the Dry Mix: Importance of Sifting for Texture
To start your journey towards making the perfect red velvet macarons, it is crucial to create a finely textured dry mix. Sifting your almond flour and powdered sugar together not only eliminates lumps but also aerates the mixture, resulting in a lighter and fluffier macaron shell. This step is essential because the texture of your macarons largely depends on the quality of the dry ingredients. When you sift, you ensure there are no clumps that could interfere with the final consistency of your batter. Aim to sift these ingredients at least twice for the best results.
Whipping Egg Whites: Achieving Stiff Peaks
The next step involves whipping your egg whites, which is a critical component in achieving the perfect macaron. Start with room temperature egg whites, as they whip better and create more volume. Using a clean, dry mixing bowl, begin whipping on medium speed until soft peaks form. At this stage, you can gradually add granulated sugar—this helps stabilize the meringue. Increase the speed to high and continue whipping until stiff peaks form. You’ll know you’ve reached this point when the egg whites hold their shape firmly and are glossy.
Incorporating Color and Flavor Without Deflating the Mixture
Once your meringue is ready, it’s time to add the signature red velvet color and flavor. Carefully incorporate red gel food coloring and a hint of vanilla extract, ensuring you do this gently to avoid deflating the meringue. A tip here is to use gel food coloring instead of liquid, as it won’t alter the consistency of your batter. Start with a small amount of gel and mix until you achieve the desired shade. It’s important to blend just until combined, as overmixing can lead to a loss of volume in your whipped egg whites.
Combining the Dry and Wet Mixtures: Indicators of Proper Consistency
Now, it’s time to combine your dry mix with the whipped egg whites. The folding process is where things can get tricky; the goal here is to combine the mixtures without losing the airiness of the meringue. Use a spatula to gently fold the dry ingredients into the whipped egg whites, turning the bowl as you go. You’ll know you’ve reached the right consistency when the batter flows smoothly from the spatula and forms a ribbon that holds its shape for a few seconds before dissolving back into the mixture. This is often referred to as the “macaronage” process.
Piping Techniques for Perfect Macaron Shapes
With your batter ready, it’s time to pipe the macarons onto your baking sheets. Prepare your baking sheets with parchment paper or silicone mats, and consider using a piping template to ensure uniform sizes. Fill a piping bag fitted with a round tip, and hold it perpendicular to the baking sheet. Apply even pressure and pipe discs of batter about 1.5 inches in diameter, leaving sufficient space between each macaron. After piping, gently tap the baking sheets on your countertop to release any air bubbles and help the macarons spread slightly.
Resting and Baking the Macarons
Explanation of Resting Time and Its Effect on Texture
Resting is a crucial step in macaron-making, as it allows the piped shells to dry and form a skin. This skin prevents the macarons from cracking during baking, creating that beautiful smooth top. Allow your macarons to rest for 30 to 60 minutes, or until they feel dry to the touch. This resting period can vary depending on humidity levels; the drier the air, the faster they will dry.
Key Signs to Look for Before Baking
Before sliding your macarons into the oven, check for signs that they are ready to bake. You should see a slight crust on the surface of each macaron—this indicates that they have dried sufficiently. When you lightly touch a shell, it should not stick to your finger. If they are still tacky, continue to let them rest.
Baking Tips: Oven Temperature, Timing, and What to Watch For
Preheat your oven to 300°F (150°C) for optimal baking. Place the macarons on the middle rack to ensure even heat distribution. Bake for 15 to 20 minutes, keeping an eye on them during the last few minutes. Look for the feet to develop—those charming ruffled edges that form at the base of each shell. If your macarons begin to brown, it might indicate that the oven temperature is too high. Once baked, let them cool completely on the baking sheet before attempting to remove them.
Cream Cheese Frosting Preparation
Step-by-Step Guide to Making the Perfect Cream Cheese Frosting
While your macarons are cooling, prepare the cream cheese frosting. In a medium mixing bowl, beat softened cream cheese and unsalted butter together until smooth and creamy. Gradually add powdered sugar, mixing until fully incorporated. Add a splash of vanilla extract and a pinch of salt to enhance the flavors. If the frosting is too thick, you can add a tablespoon of milk to reach the desired consistency.
Texture and Consistency Indicators for the Ideal Frosting
The ideal cream cheese frosting should be smooth, creamy, and easy to spread. It should hold its shape when piped but also be soft enough to flow slightly when spread on the macaron shells. If you find that it’s too runny, add more powdered sugar until you achieve the perfect texture.
Tips for Flavor Enhancement and Balancing Sweetness
To enhance the flavor of your cream cheese frosting, consider adding a bit of cocoa powder to mimic the subtle chocolate notes of red velvet cake. This will help balance the sweetness and provide a rich flavor profile. Additionally, you can experiment with different extracts, like almond or lemon, for a unique twist.
Assembling the Macarons
Matching Macaron Shells: Importance of Uniformity in Size
To assemble your macarons, it is essential to match your shells by size for an aesthetically pleasing presentation. Pair the shells that are closest in diameter and shape. This not only enhances the appearance but also ensures that your macarons have a consistent filling-to-shell ratio.
Piping Techniques for Even Frosting Distribution
Fill a piping bag with your cream cheese frosting and cut a small opening at the tip. Pipe a small dollop of frosting on the flat side of one macaron shell, and gently press another shell on top to create a sandwich. This technique helps achieve an even distribution of frosting and prevents overflow.
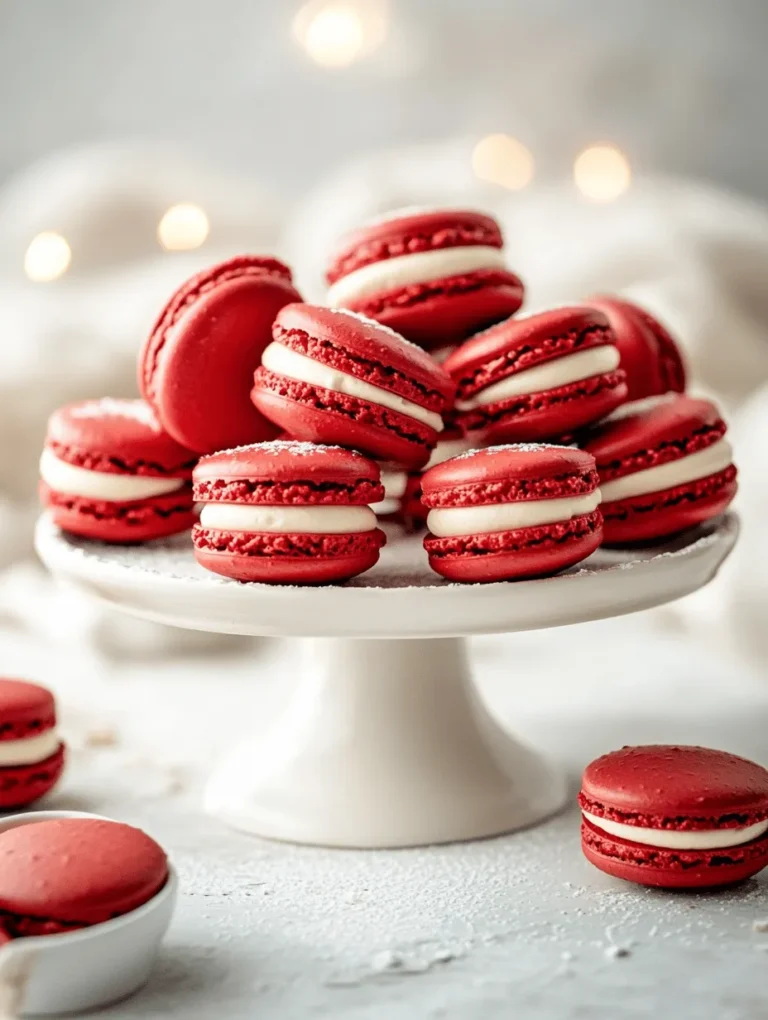
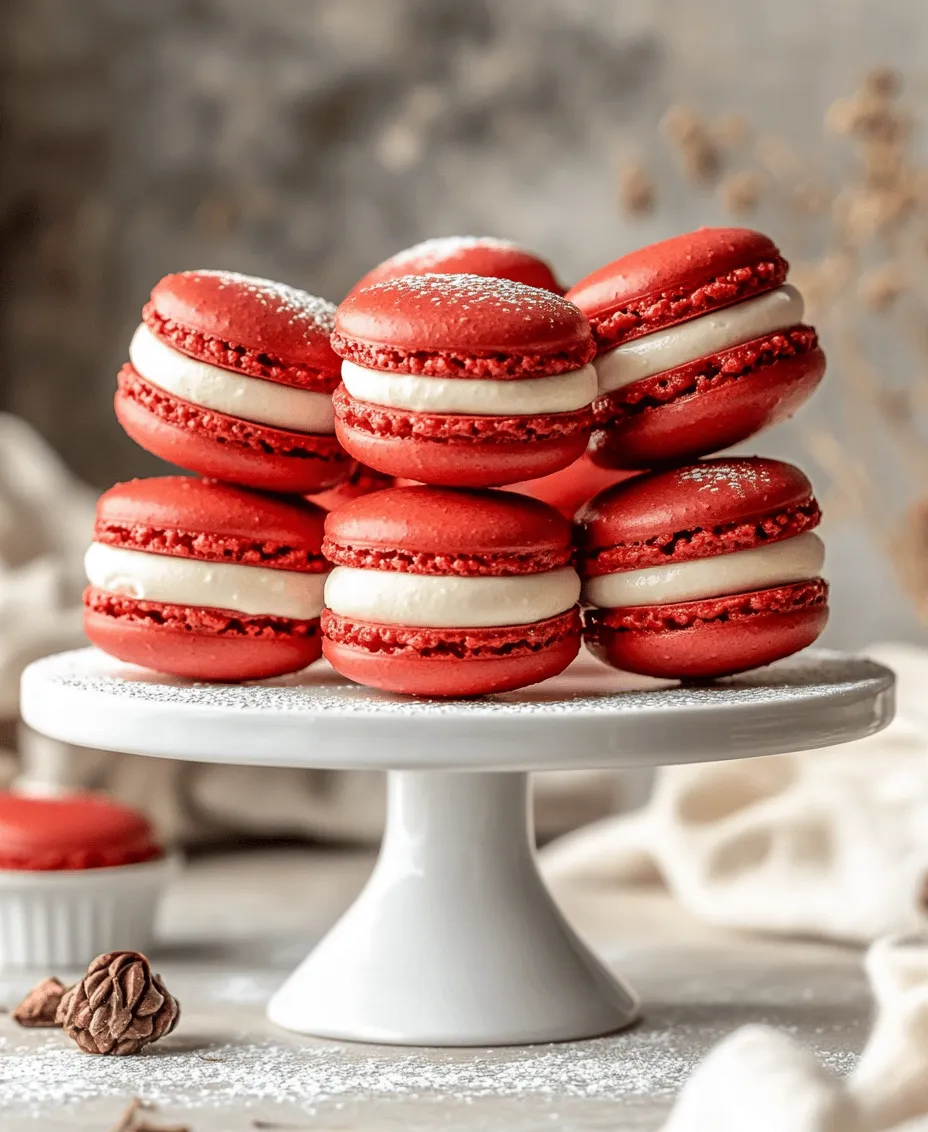
Suggestions for Serving Presentation to Enhance Visual Appeal
For a stunning presentation, consider dusting the assembled macarons with cocoa powder or garnishing with edible glitter. Arrange them on a cake stand or tiered platter to create an inviting display. You can also package them in clear boxes tied with ribbon for gifting.
Chilling and Flavor Development
Importance of Chilling Assembled Macarons for Flavor Melding
Once your macarons are assembled, it’s time to let them chill in the refrigerator for at least 24 hours. This resting period allows the flavors to meld beautifully, creating a more cohesive taste experience. The chilling process also helps improve the texture, making each bite even more delightful.
Guidelines for Storage and Serving Temperature
Store your assembled macarons in an airtight container in the refrigerator. They can last for up to a week, but the flavors will be best if consumed within three days. When you’re ready to serve, allow them to come to room temperature for about 15 minutes. This makes for a softer texture and enhances the overall flavor.
Troubleshooting Common Macaron Issues
Common Problems and Their Solutions
Even with careful preparation, macaron-making can be tricky. Here are some common issues you may encounter:
– Cracked Shells: This usually happens due to overmixing the batter or not allowing the macarons to rest long enough. Ensure you achieve the right consistency and let them dry properly before baking.
– Hollow Centers: If your macarons have hollow centers, this may be due to under-whipped egg whites or overmixing the batter. Pay attention to both the meringue and the macaronage process.
– Uneven Feet: If the feet of your macarons are uneven, it could be because of improper piping technique or temperature fluctuations in the oven. Make sure to pipe evenly and maintain a consistent oven temperature.
Tips for Achieving Perfect Macarons on the First Try
For the best chance of success, measure your ingredients accurately, and follow the recipe closely. Use a kitchen scale for precision and invest in a quality oven thermometer to ensure your baking temperature is correct. Practice makes perfect; don’t be discouraged by initial failures. Each batch will teach you something new.
Conclusion
Making red velvet macarons with cream cheese frosting is a rewarding experience that combines both culinary skill and creativity. The joy of mastering this classic French treat lies not just in the final product but in the process itself. As you experiment with flavors and presentations, you’ll discover your unique style and preferences. Whether you’re preparing them for a special occasion or just indulging yourself, these macarons are sure to impress. Embrace the challenge, enjoy the journey, and most importantly, savor every delightful bite.